How to create an Uber account: everything you need before your first ride
Creating an Uber account is straightforward, but there are a handful of decisions during setup that affect your experience afterward. This walkthrough covers the full process, from what you need before you start to the settings worth changing after your account is active.
What you need before you start
You need three things to create an Uber account: a phone number or email address, a payment method (debit or credit card, PayPal, or Venmo), and the Uber app installed on your phone.
That's it. No documents, no background check (that's for drivers, not passengers), no approval process. Account creation is immediate.
If you're creating an account for someone else — say, an elderly parent or a family member who doesn't have a smartphone — Uber allows you to order rides for other people from your account. You don't need to create a separate account for them. The "Order for someone else" feature lets you book a ride with a different phone number as the pickup contact.
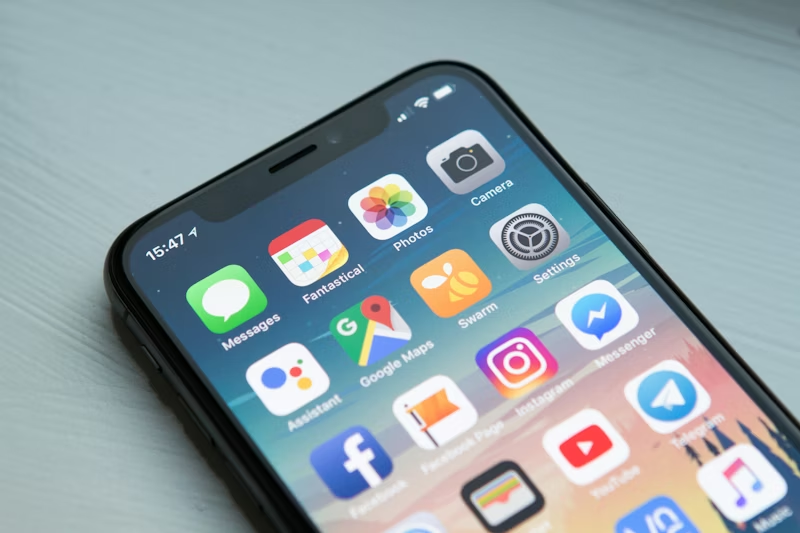
Downloading the app
On iPhone, search "Uber" in the App Store. The correct app is published by Uber Technologies, Inc. and has hundreds of millions of downloads. Install it free.
On Android, search "Uber" in the Google Play Store. Same developer name, same app. Do not download "Uber Driver" by mistake — that's a separate app for drivers. The passenger app is just called "Uber."
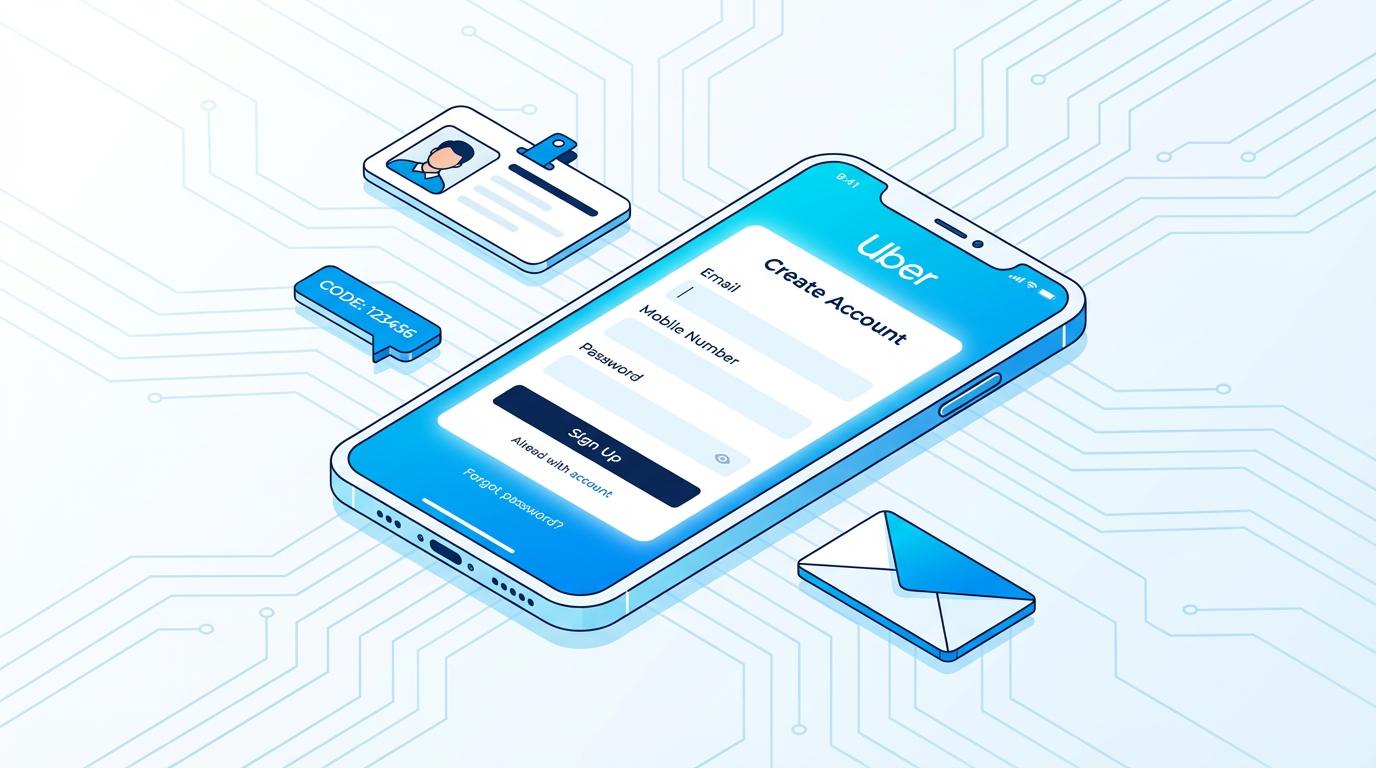
Creating your account
Open the app after it installs. Tap "Get Started." You'll choose to sign up with a phone number or an email address.
Phone number is the more common choice. After entering your number, you'll receive a 4 to 6 digit verification code via text message within about 30 seconds. Enter that code in the app to confirm your number.
Email address is the alternative. You'll receive a verification link in your inbox. Click it to confirm, then return to the app.
After verification, you'll enter your name. Use your real name, as drivers see your name before arrival and some may use it to confirm they're getting the right passenger.
You'll set a password next. Use something you haven't used on other websites. Uber accounts have been targeted in credential-stuffing attacks before, so a unique password matters here more than it might seem.
Adding a payment method
After creating the account, you'll be prompted to add a payment method. This is required to request rides. Your options:
Credit card is generally the best choice. Credit cards offer purchase protections that debit cards don't, including easier dispute resolution if there's ever an incorrect charge. Uber accepts Visa, Mastercard, American Express, and Discover.
Debit card works fine if you don't have a credit card or prefer not to use one. The experience is the same, just with fewer protections if something goes wrong.
PayPal and Venmo are both accepted and can be added as payment methods through the Wallet section of your account settings.
Apple Pay (iPhone) and Google Pay (Android) are convenient if you've already set them up on your phone. They let you pay without manually entering card numbers.
Cash is not an option in most US cities. Uber in the United States requires an electronic payment method for almost all markets.
To add a payment method, go to the Account menu (tap your profile picture in the bottom right), then select "Wallet." Tap "Add Payment Method" and follow the prompts.
Setting up your profile photo
Adding a profile photo is optional but genuinely useful. When a driver arrives and is looking for you in a busy spot, a photo in the app makes the identification faster for both of you.
You don't need to add it during setup. You can go to Account, then your name at the top, and add or update a photo at any time.
The first ride: what to do step by step
With your account created and payment added, you're ready. On the home screen you'll see a map centered on your current location. In the search bar at the bottom, type your destination. It can be an address, a business name, a neighborhood, or a landmark.
After entering your destination, the app shows available ride options with price estimates. For most trips, UberX is the right choice: it's a standard car with room for up to four passengers. The price shown is an estimate that usually matches the final price closely unless there's significant traffic or you change your destination mid-trip.
Select UberX (or whichever ride type works for your situation), confirm the pickup location on the map, and tap "Request." The app will find a nearby driver and connect you.
While waiting, you'll see the driver's name, photo, vehicle make and color, and license plate. The time countdown shows how long until they arrive.
Settings worth changing after your account is created
A few things in Uber's settings are worth looking at before your first ride rather than after something goes wrong.
Trip sharing. In the Safety section of your account settings, you can set up trusted contacts to whom Uber automatically sends your trip details. When a trip starts, the app will send them a link showing your driver's name, license plate, and live location. You can also enable this manually on any specific trip from the trip screen. It's worth setting up a trusted contact, particularly if you often ride alone at night.
Notifications. Uber sends a lot of notifications by default. Going to your account settings and choosing which ones you actually want helps keep your phone from buzzing with irrelevant promotions. The ones worth keeping: driver arriving alerts, trip start and end confirmations, and fare breakdowns.
Preferred language. If you want the app in a different language, you can change it in the Account settings under "App Settings."
Accessibility features. Uber offers a vehicle accessibility option in some markets that lets you request rides from drivers with wheelchair-accessible vehicles. If you or someone you frequently ride with needs this, it's found in the accessibility settings.
Common problems when creating an account
Phone number already in use. This means an account already exists with your number. If you've used Uber before and forgotten about it, tap "Sign In" instead of "Sign Up." If you never used Uber, use the "Forgot Password" flow with that phone number to regain access, or use an email address to create a new account.
Verification code not arriving. Check that your phone can receive text messages and that you entered the correct country code. If the code still doesn't arrive after a minute, tap "Resend Code." If you're on Wi-Fi with a weak cellular signal, switch to cellular data for the SMS to arrive properly.
Payment method declined. Verify that your card number, expiration date, and billing zip code are all entered correctly. Some prepaid debit cards are not accepted. If you're adding a card from a non-US bank, international cards sometimes need to be approved for online transactions first through your bank.
Using Uber for someone else
Once your account is set up, you can order a ride for another person without them needing their own account. After entering a destination, look for "Order for someone else" before confirming. You'll enter their phone number, and the driver will be given their contact information so they can coordinate pickup. Your payment method on file covers the ride.
This is useful for booking rides for children (note that Uber requires someone 18 or older to ride without an accompanying adult in most markets), elderly family members, or anyone who needs a ride but doesn't have the app or a smartphone.
After your first ride
The account you set up today is the same one you'll use for every subsequent ride. Your payment methods, trip history, and preferences accumulate over time. The more you use the app, the more it learns your frequent destinations, making future trip requests faster.
Keep an eye on your account activity in the "Your Trips" section. If you ever see a trip you don't recognize, report it immediately through the Help section. Unauthorized trips, while uncommon, do happen when account credentials are compromised.
Your Uber account is set for years of use after this initial five-minute setup.
About the Author
Rafael Almeida
How-to guide specialist and tech educator. Creates step-by-step tutorials for popular mobile applications.
Related Articles
The Best Apps of 2026 So Far
We tested and ranked the top mobile apps this year — the ones that solve real problems, survive daily use, and never get deleted. Whether you're looki...
1 min read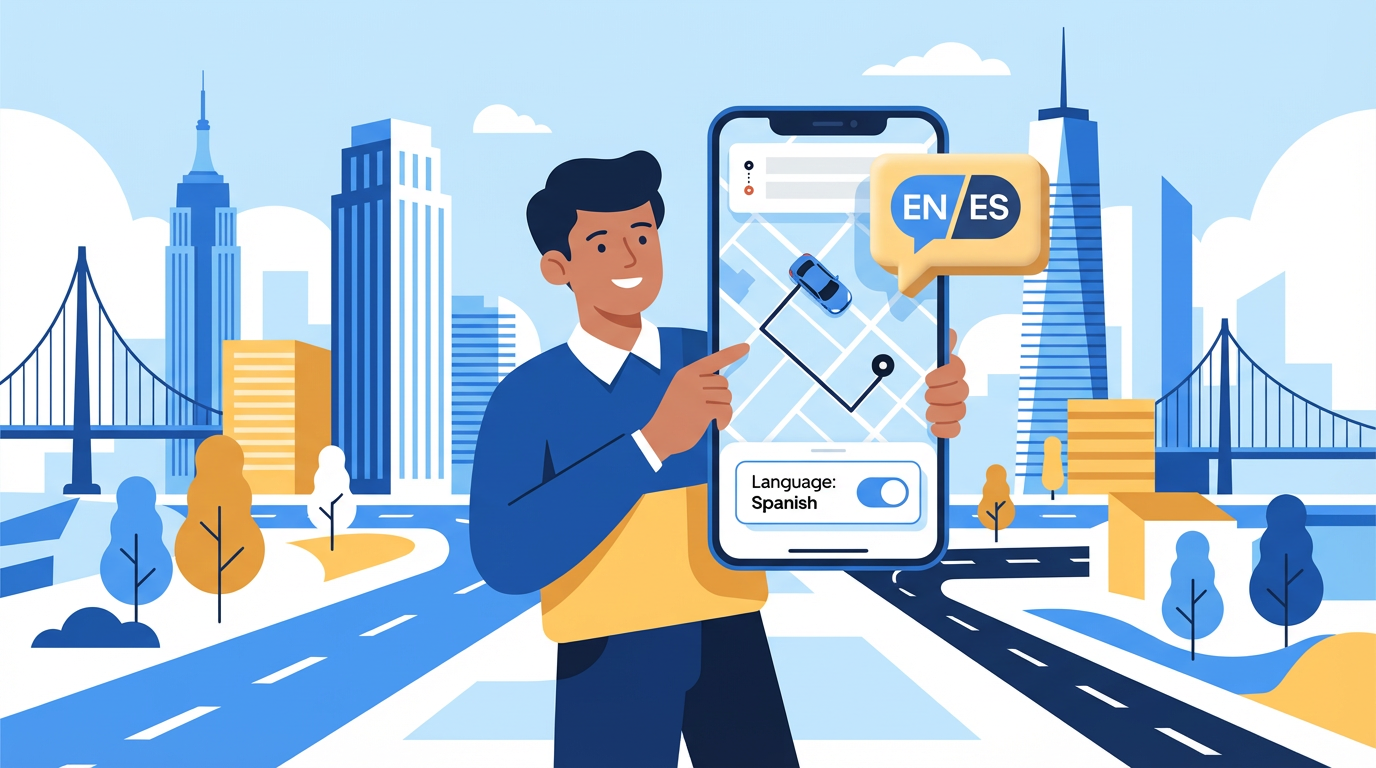
Cómo usar Uber en Estados Unidos: guía completa para hispanohablantes
Si llegas a Estados Unidos por primera vez o acabas de instalar Uber y no sabes por dónde empezar, estás en el lugar correcto. Uber funciona de manera...
10 min read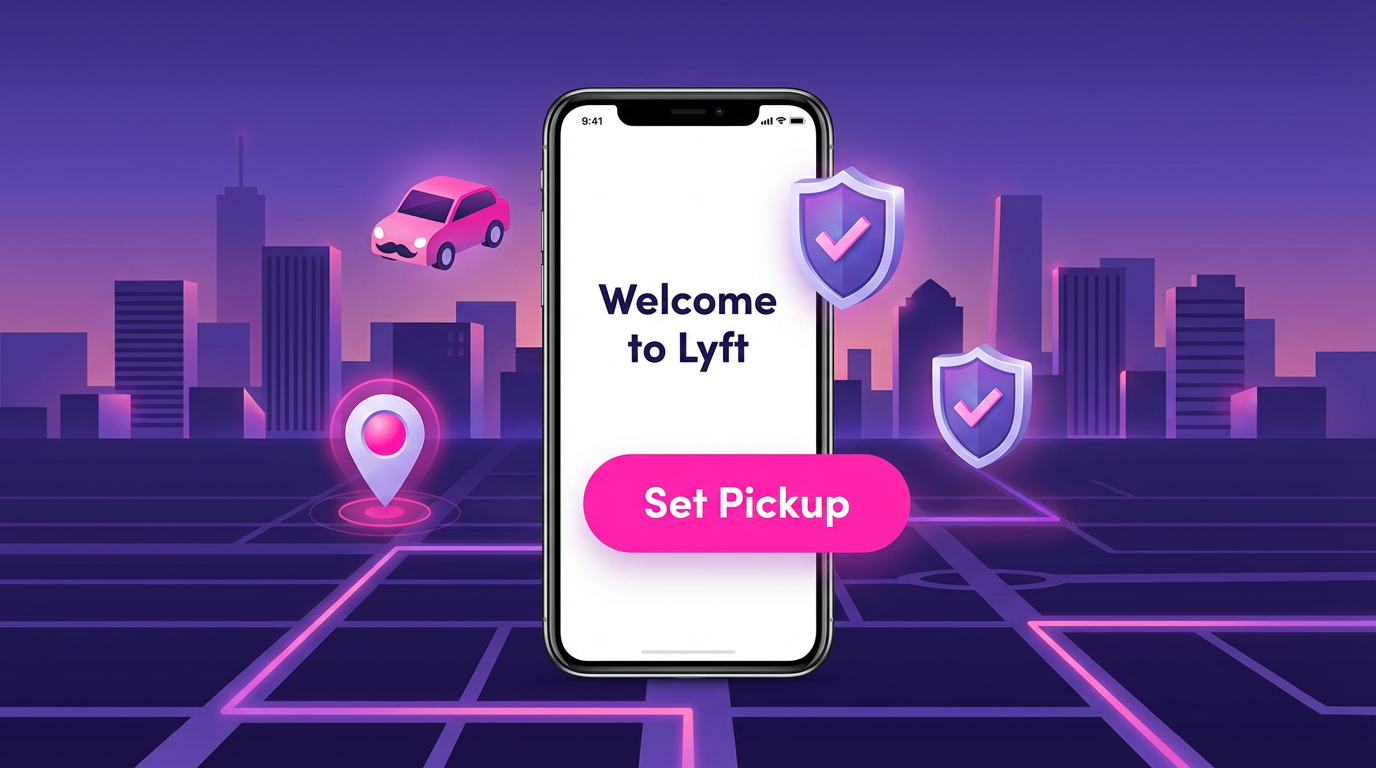
How to use Lyft for the first time: a complete beginner's guide
If you've been thinking about trying Lyft but haven't gotten around to it, or you're someone who uses Uber and is curious whether Lyft is worth adding...
7 min read