How to download and set up the Uber app: a step-by-step guide for iPhone and Android
Setting up Uber for the first time takes about five minutes if you have your phone, an email address, and a payment method. That's it. There's no waiting period, no approval process, and the app works immediately after you create an account. But there are a few decisions and settings worth paying attention to during setup, and some common points of confusion that are worth addressing before you take your first ride.
Here's how the whole process works, from download to your first ride request.
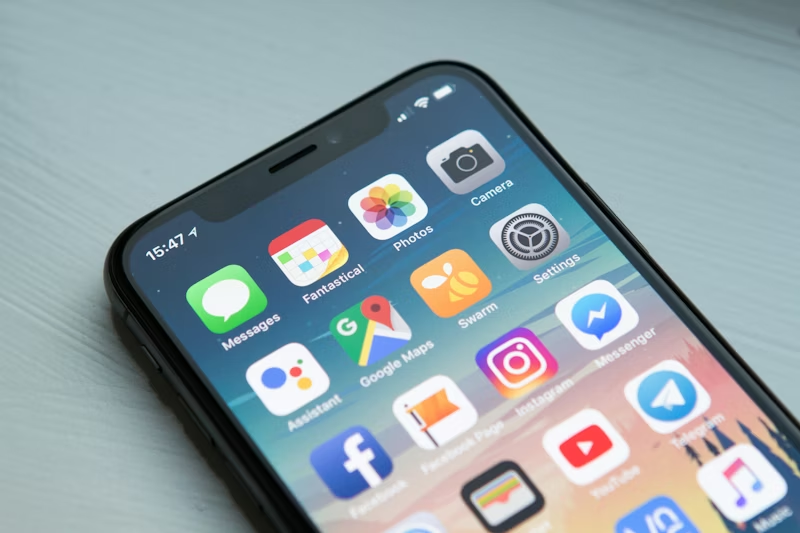
Step 1: Download the app
On iPhone, open the App Store, search for "Uber," and look for the app published by "Uber Technologies, Inc." The icon is black with a white U shape. Tap "Get" to download it. It's free.
On Android, open the Google Play Store, search for "Uber," and look for the same developer name: Uber Technologies, Inc. The install count should show in the hundreds of millions, which tells you you're looking at the official app and not a copycat. Tap "Install."
One thing that trips up a few people: Uber has two apps. The one you want as a passenger is simply called "Uber." The other is "Uber Driver," which is for people who want to drive for the platform. Make sure you're installing the passenger app.
Step 2: Create your account
Open the app after it installs. You'll be prompted to sign up with a phone number or email address. Phone number is slightly faster because the verification code arrives as a text message. Email works fine too.
After entering your phone number or email, you'll receive a verification code via text or email. Enter that code in the app to confirm you control the account.
Next you'll enter your name and create a password. Use a strong password that you don't reuse on other sites. Uber accounts are occasionally targeted in credential-stuffing attacks where stolen passwords from other data breaches are tried on rideshare accounts.
You'll also be prompted to add a profile photo, which is optional but useful. When a driver is looking for you in a busy location, having a photo in the app helps them identify you. It's worth adding even a simple photo.
Step 3: Add a payment method
You can add a debit card, credit card, PayPal, or Venmo as your payment method. Adding a credit card is generally advisable because most credit cards offer purchase protection and dispute resolution that debit cards don't. If there's ever an unauthorized charge on your Uber account, a credit card makes that easier to resolve.
To add a payment method, tap your profile icon at the bottom of the screen, then go to "Wallet" and tap "Add Payment Method." Follow the prompts to enter your card number, expiration date, and CVV.
Uber also accepts Apple Pay on iOS and Google Pay on Android if you prefer not to enter card numbers manually. These are set up through your phone's payment settings and then connected to Uber through the Wallet section.
Note: Uber does not accept cash payment in most US markets. If you don't have a card and want to pay cash, some markets allow it through specific settings in the app, but it's not universal. Most US cities require an electronic payment method.
Step 4: Verify your phone number if you haven't yet
Uber uses your phone number to confirm your identity and send important notifications about your rides. If you signed up with email but haven't verified a phone number, do it now. Go to your Account settings and add your phone number. This also enables the real-time trip notifications that tell you when your driver is arriving.
Step 5: Request your first ride
On the app's home screen, you'll see a map centered on your current location. At the bottom, you'll see a search bar where you enter your destination. Type your destination address or name (a restaurant, hotel, airport, etc.) and select it from the suggestions.
The app will then show you the available ride options in your area and estimated prices for each. Common options include:
UberX is the standard option — a regular car with one driver. This is the default for most trips.
UberXL is for larger groups, typically up to six passengers. Price is higher than UberX.
Uber Comfort provides newer vehicles with extra legroom and lets you request a quiet ride or specific temperature preferences. Priced between UberX and Uber Black.
Uber Black is a premium black car service with professional, licensed drivers and high-end vehicles. Significantly more expensive than UberX.
Uber Pet allows you to bring pets and costs slightly more than UberX.
For most people, most of the time, UberX is the right choice.
After selecting your ride type, confirm your pickup location. The blue pin on the map shows where you'll be picked up. You can drag it to adjust if the pin is on the wrong side of a building or intersection. Then tap "Confirm" and your request goes out to nearby drivers.
Step 6: Wait and meet your driver
Once a driver accepts your request, the app shows you their name, photo, vehicle make, model, color, and license plate number. It also shows their rating and estimated arrival time.
Wait inside if possible, and head out when the driver is about two minutes away. This is especially important in hot or cold weather.
When the driver arrives, confirm the license plate matches before getting in. The app will also ask you to check the plate after your trip. Don't get into a car just because it stops near you — verify it's your Uber.
You can contact your driver via the in-app message or call feature without sharing your personal phone number. Use this if you need to clarify your pickup location.
What happens after the ride
When your trip ends, the app will ask you to rate your driver from 1 to 5 stars. Ratings matter for drivers, so only give less than 5 stars if there was a genuine issue. The rating screen also prompts you to leave a tip, which is optional. You can add a tip up to 30 days after the trip if you forget.
Your receipt is emailed automatically to the address on your account. The charge appears on your card within 24 to 48 hours.
Common setup problems and fixes
If the app can't find your location, check that you've allowed location access for Uber in your phone settings. On iOS, go to Settings, Privacy and Security, Location Services, and make sure Uber is set to "While Using the App" or "Always." On Android, the path is Settings, Apps, Uber, Permissions, Location.
If your payment method is being declined, verify that your card details are entered correctly and that your billing address in Uber matches the address on your bank account. International cards sometimes don't process correctly without contacting your bank.
If the app crashes or won't load, close it completely and reopen it. If that doesn't work, uninstall and reinstall the app. Your account and payment information are stored in Uber's servers, so reinstalling won't lose your data.
If you can't find a driver in your area, move to a more central location with better driver availability. Remote areas, small towns, and late-night suburban locations have fewer drivers and longer waits or no coverage.
Keeping your account secure
Uber accounts with saved payment methods are a target for account takeover. A few basic security steps go a long way: use a unique password that you don't use on other sites, enable two-factor authentication in your account settings, and periodically check your ride history for any trips you didn't take. If you see an unfamiliar charge, report it immediately through the app or Uber's website.
The first ride is usually the best confirmation that setup worked correctly. Somewhere predictable with a clear pickup spot makes the learning curve much more manageable.
About the Author
Rafael Almeida
How-to guide specialist and tech educator. Creates step-by-step tutorials for popular mobile applications.
Related Articles
The Best Apps of 2026 So Far
We tested and ranked the top mobile apps this year — the ones that solve real problems, survive daily use, and never get deleted. Whether you're looki...
1 min read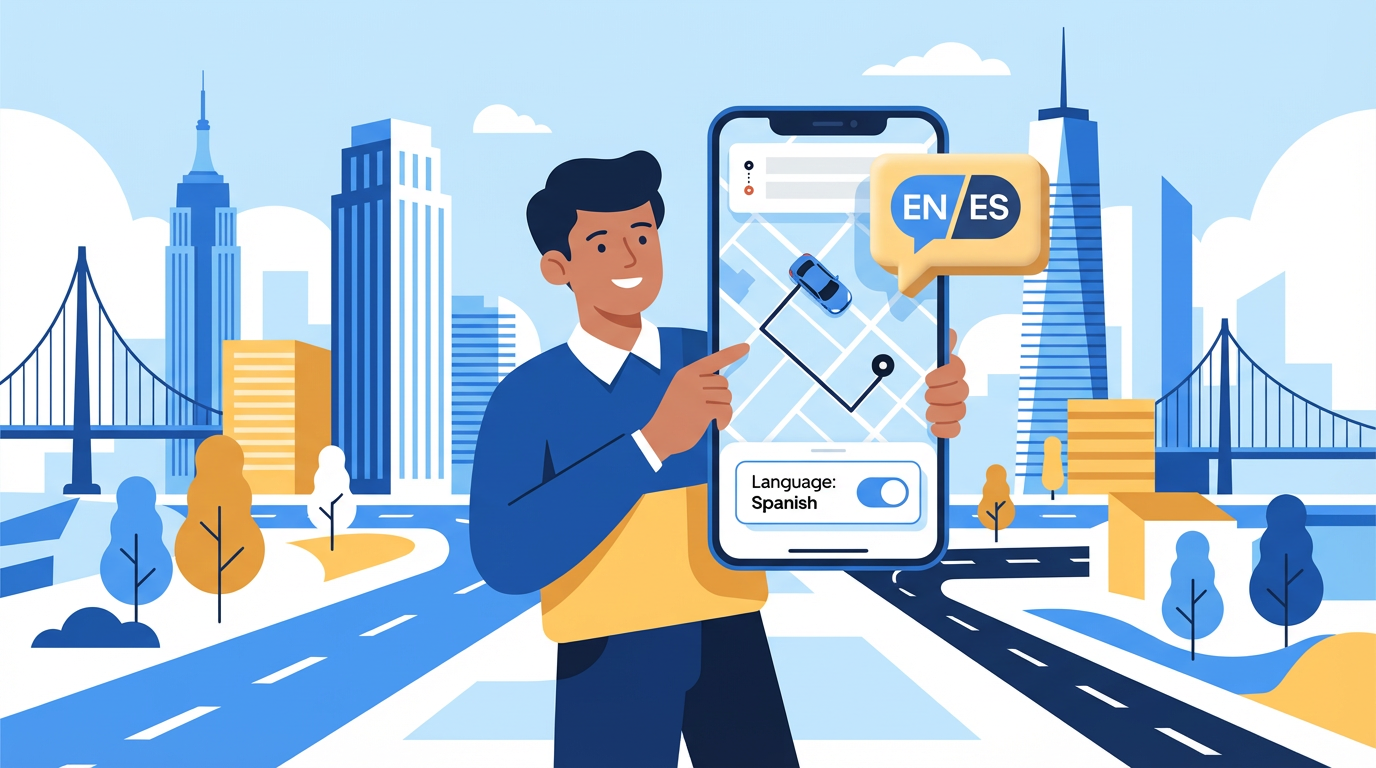
Cómo usar Uber en Estados Unidos: guía completa para hispanohablantes
Si llegas a Estados Unidos por primera vez o acabas de instalar Uber y no sabes por dónde empezar, estás en el lugar correcto. Uber funciona de manera...
10 min read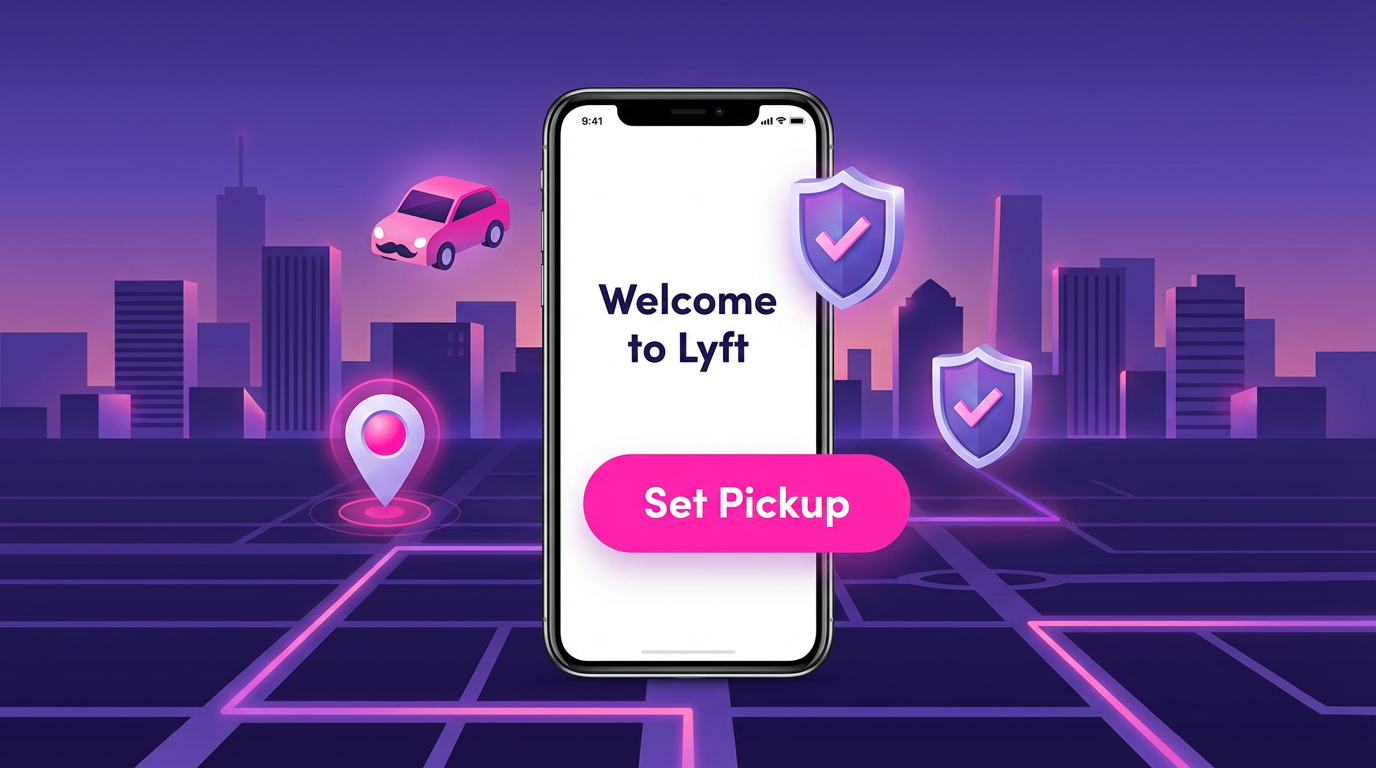
How to use Lyft for the first time: a complete beginner's guide
If you've been thinking about trying Lyft but haven't gotten around to it, or you're someone who uses Uber and is curious whether Lyft is worth adding...
7 min read